Step 1
Create a new document and place the photo
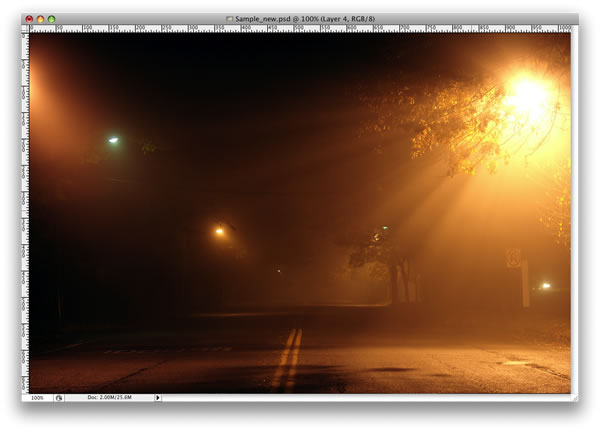
Step 2
Here I placed a second image, I will use it to create the light effects.

Step 3
With the Pen Tool(P), create a path for one of the figures.

Step 4
Select the Brush Tool(B) and go to Window>Brushes or F5,
lets create our brush. Use 8px for the diameter and select Dual Brush and Other Dynamics. Follow the image below for reference.

Step 5
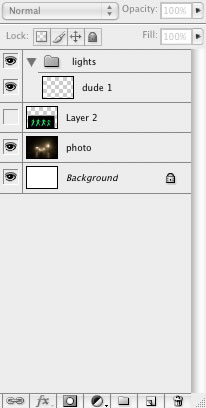
Go to the Layer Palette create a new folder and rename it to lights.
After that create a new layer inside this folder name it dude and select it.
Step 6
Go to the Path Palette and select the first path. Then with the Path Selection Tool(A)Stroke Path. A dialog box will open, select the brush and use simulate pressure.
After that go to Filter>Blur>Gaussian Blur, use select the path and click with the right button of the mouse. Choose 1.6px for the amount.

Step 7
Duplicate the dude layer 3 times.
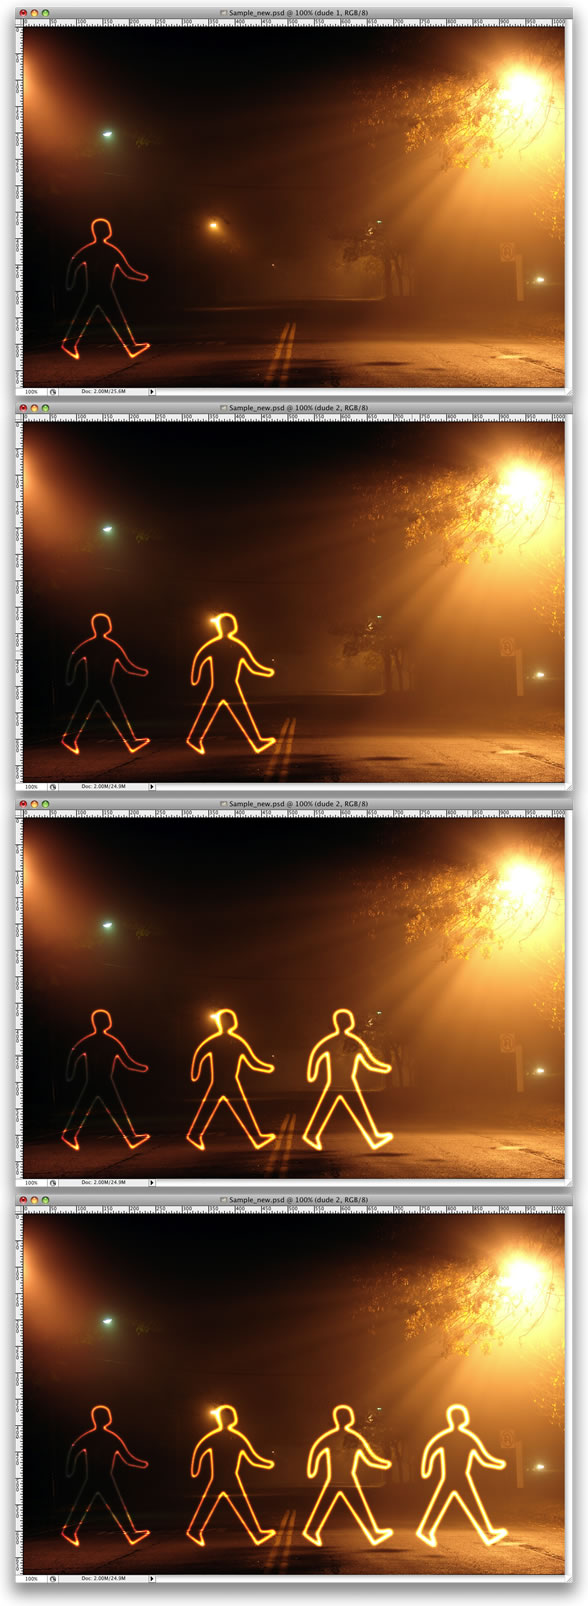
Step 8
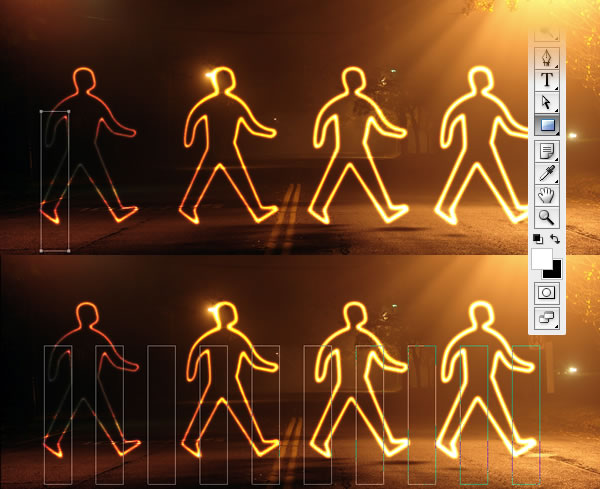
Select the Rectangle Tool (U) and create a rectangle. Then duplicate the rectangle several times. After that align and distribute them horizontally.
Step 9
Create a new layer inside the lights folder. Rename it to xing. Repeat the Step 6 and stroke the paths. After that select the xing layer and go to Edit>Transform>Distort.
Now just move the vertices until the perspective is good, just follow the street lines.

Conclusion
That's probably the easiest way to create this type of light effect;
however, it depends on the color of the background. If the background
is too dark the blend mode won't work. You'll probably have to use
another one with a outer glow.
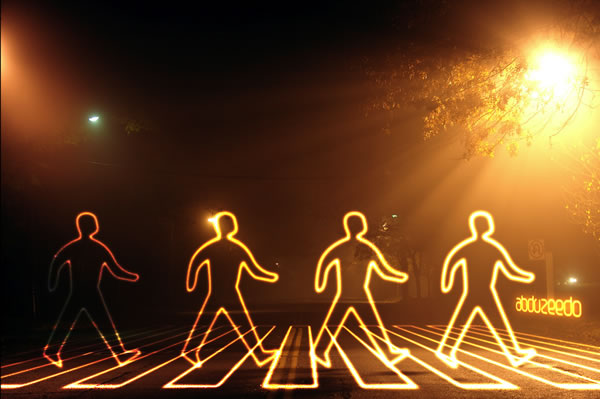
You can make the lights brighter, by just duplicating the layers. You can even use the Eraser Tool(E) to make some adjustments.The final tutorial image is below.
Create a new document and place the photo

Step 2
Here I placed a second image, I will use it to create the light effects.

Step 3
With the Pen Tool(P), create a path for one of the figures.

Step 4
Select the Brush Tool(B) and go to Window>Brushes or F5,
lets create our brush. Use 8px for the diameter and select Dual Brush and Other Dynamics. Follow the image below for reference.

Step 5
Go to the Layer Palette create a new folder and rename it to lights.
After that create a new layer inside this folder name it dude and select it.

Step 6
Go to the Path Palette and select the first path. Then with the Path Selection Tool(A)Stroke Path. A dialog box will open, select the brush and use simulate pressure.
After that go to Filter>Blur>Gaussian Blur, use select the path and click with the right button of the mouse. Choose 1.6px for the amount.

Step 7
Duplicate the dude layer 3 times.

Step 8
Select the Rectangle Tool (U) and create a rectangle. Then duplicate the rectangle several times. After that align and distribute them horizontally.

Step 9
Create a new layer inside the lights folder. Rename it to xing. Repeat the Step 6 and stroke the paths. After that select the xing layer and go to Edit>Transform>Distort.
Now just move the vertices until the perspective is good, just follow the street lines.

Conclusion
That's probably the easiest way to create this type of light effect;
however, it depends on the color of the background. If the background
is too dark the blend mode won't work. You'll probably have to use
another one with a outer glow.
You can make the lights brighter, by just duplicating the layers. You can even use the Eraser Tool(E) to make some adjustments.The final tutorial image is below.


